Today I will explain what kind of tools you need to do dip nails and how they’re working.
Tools needed for doing dip nails:
- Orange sticks
Used to clean the surface of the nail Dip powder set (buy them on eBay or Amazon) – all colors you can imagine are there
- Acetone
Strong dissolving agent Nail polish remover (see my favorite one from here ) A glass bowl with enough acetone inside Nail file (used only when your friend decides that she wants her natural nails back.
- Cotton pads with 99% alcohol Silver foil stickers
I use them to create a perfect surface for my nails before applying the powder.
And this is how they look like: All of these things are very cheap, so I think it’s not a problem to have them all at home.
Dip nails Step-by-step guide:
Clean Your Nails:
First of all, clean your nails from any residues – use cotton pads with alcohol or acetone to remove the shiny surface, put on silver foil stickers, and wait until they absorb all the polish. Doing dip nails, you need two hands, so do one hand each time. As much as possible, work fast because the powder will start drying pretty soon after opening the jar.
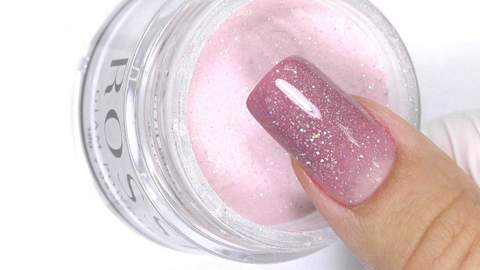
The first thing you need to do is take out some powder from your set, take a big spoon and fill it with powder. The quantity should be about the same as if we will make one regular nail in acrylic (so, in this case, take your orange stick and make a bit of a recess to collect powder).
Acetone Inside This Recess On The Nail:
After making sure that your nails are clean, put some acetone inside this recess on the nail. This is needed because otherwise, the powder will start sticking to your fingers (and it’s very annoying)! When you’re done with the first step, you’ll get like this: It looks like I have 3D nails now, But don’t worry – they won’t stay like this for long!
Use Orange Stick:
Now use your orange stick again and mix the powder until you feel no lumps left inside. Well, It’s not “mixing” per se – you need to click your stick against the surface, and there will be no powder falling off! As I’ve told you before, don’t hesitate to make a nice recess like this:
We do it because we want our nails to look as natural as possible, and we don’t want any edges or ridges on them.
Apply Some More Acetone:
Apply some more acetone inside this recess when you’re done with mixing (and there should be no big clumps of undissolved powder anymore). Press your stick into the surface again and then take it out – you’ll see that all excess acetone will flow back into your glass bowl. What’s left will be a thin surface that looks like a glassy gel.
As soon as you feel the powder is well pressed, take your brush and dip it into the jar. Dip it up to the ferrule (the metal part) because when you brush off your nail, you don’t want this powder to fall onto any other parts of your nails. Then carefully insert that brush into its recess. You can even gently shake it to make sure that there are no air bubbles inside!
Place Hand Under UV Lamp:
After doing so, place this hand under a UV lamp for 1 minute and wait until a tacky layer appears on top of the powder:
When a tacky layer appears, do the same with another hand – clean it from residues, put silver foil stickers, and fill with powder the same way as the first one (this is very important because we need to do both hands at once).
If you’re satisfied with your nails, proceed to next step:
Take some acetone on a cotton pad and clean that tacky layer from first hand. Then take another pad and give it a gentle motion on second hand – this will remove all excess powder. But some of it will stick to your fingers, so you’ll have some more cleaning. Just use 99% alcohol pads for this purpose until all excess powder is gone! After applying the topcoat as usual (I usually use gel ones), don’t forget to apply a UV lamp or LED light to make them dry faster.
If you’re satisfied, apply a top coat – I usually use gel ones and put the UV lamp on them for 2 minutes (the lamps we have at home are not very strong, but it’s enough to make them dry fast). And voila! Your dip nails are done. You can always do more dipping if you feel your nails aren’t as thick as they should or are unhappy with their shape. Just fill them with powder again 🙂
Is it difficult to DIY your nails?
Using dip powder nails is not so difficult. If you have practice doing this, you can do it yourself. Choosing the perfect tool for this is essential so you can work properly. If you choose an ideal tool, you will save time and not be in trouble. So, it is concluded that DIY nails are not so difficult, but you must need practice.
FAQs
Dip powder nails are a type of artificial nail that uses a combination of an acrylic monomer and a plasticizer. Both components are mixed with a unique filler before being applied to the natural nail. The solution soaks off in about 10 minutes for no-heat removal, without any acetone soaking necessary.
A dip powder kit can be used as a replacement for acrylic or gel nails. If you decide to go this route, using it as your primary means of maintaining healthy nails will cause them to become thin from overuse. We don’t recommend you use the dip powder kit more than once every two weeks on top of your current manicure regimen.
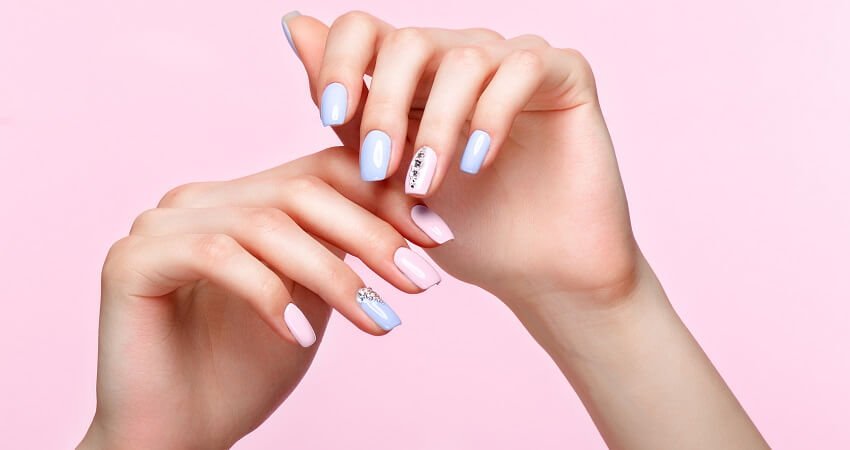
When comparing a dip powder kit to a gel manicure, there are several key differences. These artificial nails typically look remarkably natural in comparison with their gel counterparts. They use real nail tips instead of an adhesive to attach to the free edge of natural nails. They also dry almost instantly, unlike gels which can take up to 15 minutes when cured under an LED light.
Dip powder nails are not only safe, but they’re strong too! The material used with this type of nail is made from acrylic monomers and plasticizers, both of which have been found in studies conducted by the American Academy of Dermatology to be safe for use.