Screen recorders are a great way to impart your expertise. The best part is that they are easy to make presentations on your own using only a handful of equipment and software. Follow this step-by-step tutorial to discover how to record zoom meeting. Before we begin, let’s examine what’s typically intended by videos for lectures.
Follow the steps below after installing and downloading the free screen recorder on your system.
Prepare Your Slides and Talking Points
When preparing your slides and planning the presentation plan, you should think about how you can structure your presentation to engage your audience and help support your talk points while not repeating the information you’ll be presenting. We’ll also let you in an essential method to create a flawless presentation: record yourself doing the practice.
Select Your Audio and Video Sources
iTop Screen Recorder will detect all the connected video and audio feeds automatically, whether you are using your PC’s built-in device or an external webcam or microphone connected to one of your USB ports.
Switch the auto-detected videos and audio sources and select the inputs for the media that you wish to record. Make sure you test the quality of your audio and video before presenting your complete presentation.
Open Your Slides and Capture the Screen
Start your presentation and put it into “Slide Show” mode. With screen recorder Windows 10, you’ll have two options to record your slides. You can either capture your slides by recording your screen or using the slide recording feature within the program. Select the icon for screen recording, and choose the option you want to use in the dialog box which appears within your browser.
Be sure to communicate with your target audience.
When teaching online, it is essential to ensure that lectures are engaging and not boring. Be positive and open with your learners, even if they only see your instructor via recording rather than in real life. It’s essential to keep in touch with your students and to include an element of humor, emotion, and human interaction in your teaching whenever they are digital.
Press Record And Start Presenting
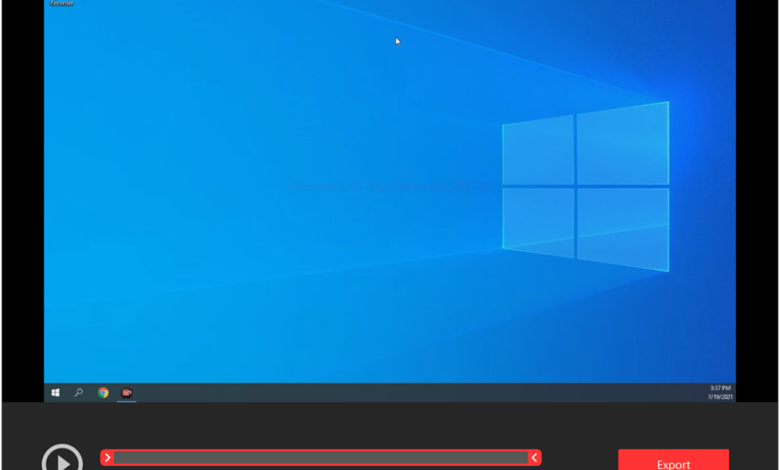
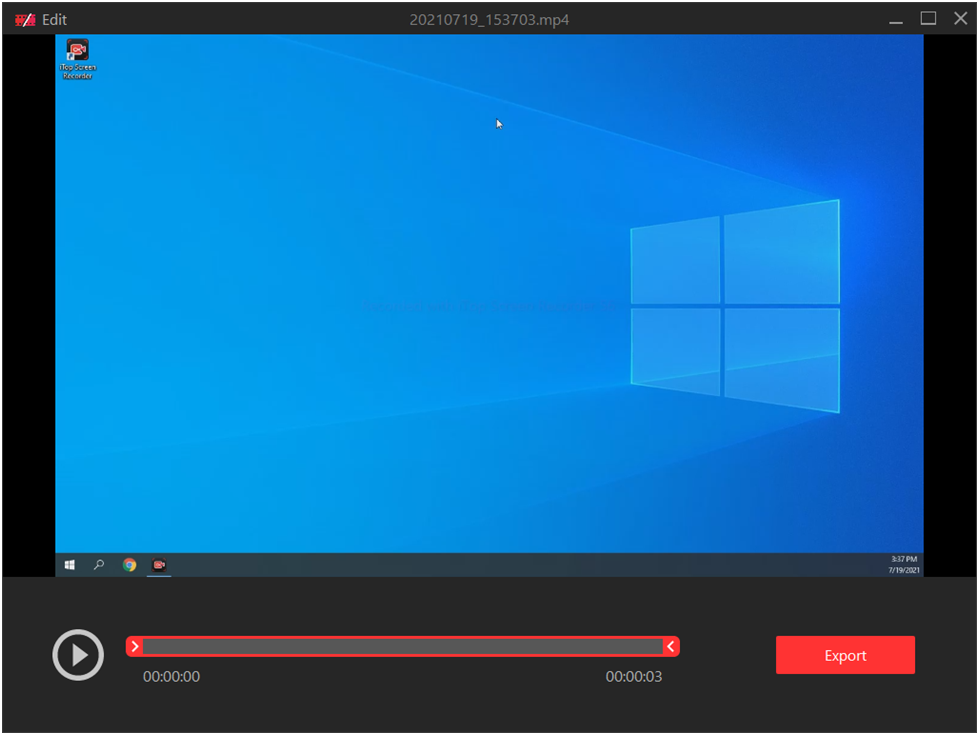
After selecting the media inputs in the screen recording software, it’s time to hit the record button, to begin with the presentation. After you’ve completed your recording, it’s time to show it off.
Keep lectures bite-sized
The students will find it easier to take in a short video than an hour-long classroom lecture with many details. This is why you should split the address into several videos of between 7 and 7 minutes in duration each. This allows you to assist students as they move through the different parts of the class and also helps students refresh certain areas if required.
Conclusion
The ideal solution will depend on your requirements, knowledge, and how long you need to master the latest tool. If you’re looking for an intuitive, one-stop-shop tool for your needs, you should consider iTop Screen Recorder.
Read More: How to choose the Best Laser Pointer for Presentations