Last Updated on February 17, 2024 by Ali Hamza
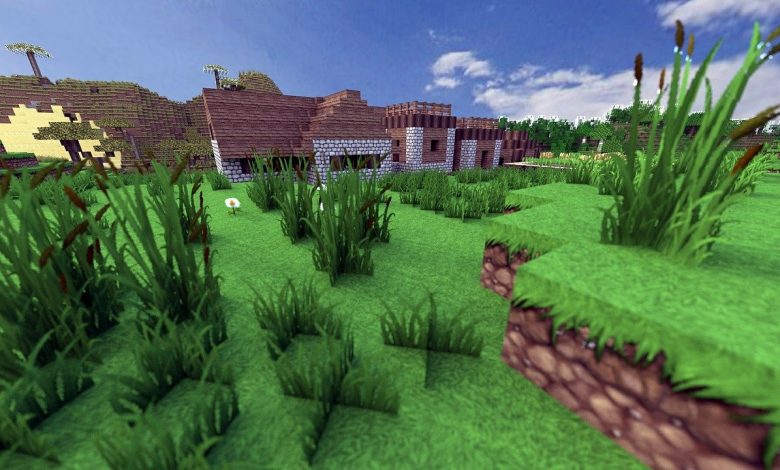
If you find that your game isn’t flowing the way that it should, your RAM, or rather, the lack thereof may be the culprit. This article is about how to find out if you have enough RAM to run Minecraft in Windows 10 and get more if you need it. Give the game more RAM while you play to avoid stuttering and frozen screens.
You should know the amount of RAM on your computer before you begin. Follow these steps if you don’t know how to do this:
- From the Start menu, select the “Settings menu” or click the gear icon.
- Click “System” on the left-hand side of the screen and then “About” on the right.
- Under “Device Specifications,” check out your Installed RAM.
Under Installed RAM, you will see two figures. The first figure shows you what’s installed on your computer, and the number in parenthesis is the RAM available for use. It is available on the Microsoft Store, and a minimum of 4 GB of RAM is required.It is recommended that you have 8GB of memory. You’re in luck if you have an RTX system. The game supports RTX graphics cards, but you will need 8 GB of RAM to play it.
Are you interested in setting up a server for your Minecraft game?
You can play modded Minecraft without worrying; you select hardware that is powerful and reliable. Every server is protected by multi-gigabit DDoS, delivers 99.9% uptime, and offers free mod installation.
Why does my launcher not have enough memory?
Various launchers are available, offering players different game play experiences. Here are some directions based on popular launchers.
- Start the Minecraft client (Java version).
- On the Launcher, click the INSTALL tab.
- Choose the three dots in the right-hand corner of the profile/Minecraft version you desire.
- You can edit the document by choosing EDIT from the menu. The bottom will appear, and MORE options will be available.
- If you would like to allocate Minecraft with a fixed amount of RAM, replace Xmx1G with Xmx#G in the “JVM arguments” field.
- Once you’ve selected the green save button, you’re done!
How to allocate more RAM to Minecraft Java?
You will see a slider for “Allocated Memory” under “Java Settings.” Select “Minecraft.” You can drag and drop the orange ball on the slider to adjust the RAM allocation.
How to allocate RAM for Minecraft using AT Launcher?
- On the right side of the AT Launcher, click “Settings.”
- At the top of the settings page, you’ll see several tabs. To access Java/Minecraft, click the Java/Minecraft tab.
- You’ll see a list of properties you can adjust. You will want to increase the number for “Maximum Memory/RAM” listed in the second column. Remember that 1024MB equals 1GB since it’s listed in megabytes.
- After you’ve adjusted the max RAM, make sure you click “Save” at the bottom to confirm your changes.
Minecraft server RAM allocation for a PC-based server:
You may be running a Minecraft server of your own. You will lag as soon as you change the game if the server doesn’t have enough RAM. You will need to use a different method on a Mac or Linux computer to run a server from a Windows 10 PC. To increase your server’s RAM capacity, follow these steps:
- The Minecraft server files are located in the server folder.
- Choose “New” and “Text Document” from the shortcut menu, then leaves the document unnamed for now.
- Paste the given code into the document. Then run Minecraft_Server.exe with the following Java options: -Xmx####M -Xms####M -o true PAUSE. You can then run Minecraft_Server.exe with the following Java options: -Xmx#####M -Xms#####M -o true on in megabytes.
- In the “Save As..” menu that appears select “All Files” as the “Save as type.” Save the document.
- Rename the file to “file server launcher.bat” after saving it to your folder.
- What started as a text document is now the new Launcher for your Minecraft server. Double-click the new .bat file to run your server with the new amount of RAM.
What is the best way to allocate 16GB of RAM to Minecraft?
On the top of your screen, select Settings, then Java/Minecraft. It is possible to select multiple options, but the second one – Maximum Memory/RAM – is of interest to you. If you want to allocate more money, you can type it in, but if you want to do it more easily, click the up and down arrows.
What is the best way to permanently allocate more RAM to Minecraft?
- Click on the Settings tab (on the right-side menu pane) when the AT Launcher is launched.
- On the top navigation bar, click the Java/Minecraft tab.
- Click the Java/Minecraft tab in the top navigation bar. Drag it to the desired memory allocation.
What happens if you allocate too much RAM to Minecraft?
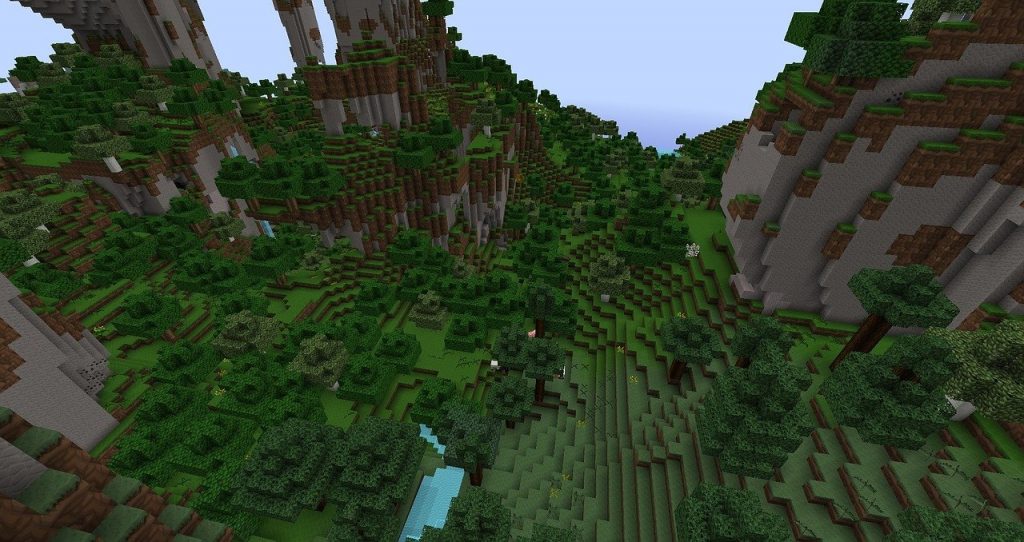
The bigger and more beautiful your “Minecraft” world is, the more RAM it requires. A game might even crash if there isn’t enough RAM allocate to it. It’ll load slowly; frames will stutter.
Is too much RAM bad for you?
It won’t hurt your performance to have more RAM. The performance will be increased because it will no longer need to access the slow HDD/SSD so often. However, having a large page file can slow it down.
FPS can be affected by RAM?
To run a game, you need a certain amount of memory. It varies from game to game how much memory is required. When you have a low amount of memory (i.e., four or eight gigabytes), adding more RAM will increase your FPS in games that utilize more RAM than you previously had.Especially if you have several tabs open and extensions loaded, browsers can eat up a lot of space.